As you know, I am a huge LOVER of Chanel nail polishes, but the price does not fit in with a college married persons budget, so I do what I can to get over my lust. In comes OPI's Lucerne-Tainly Look Marvelous. It's a dark charcoal black that looks very similar to Chanel's Graphite (I think).
Chanel Graphite:
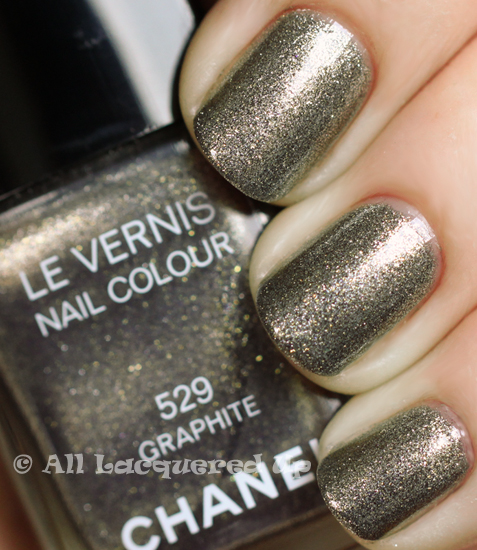
(Image from here.)
While Graphite has a little yellow/golden undertones, Lucerne-Tainly Look Marvelous does not. It's a flat black shade, but similar all the same. I originally purchased this nail polish in a set, from Ulta shown here it was so cheap I couldn't pass it up! I got two amazing polishes out of it too!
OPI:


Happy Friday everyone!
Brielle
Ps, This polish required a felt removal. I'm going to be posting on that soon! Keep your eyes peeled! (What a weird saying!)